Pottery and Ceramics
Difficulty: easy to start, a lifetime to master. Prerequisites: clay, fire. That's genuinely it for the first tier.
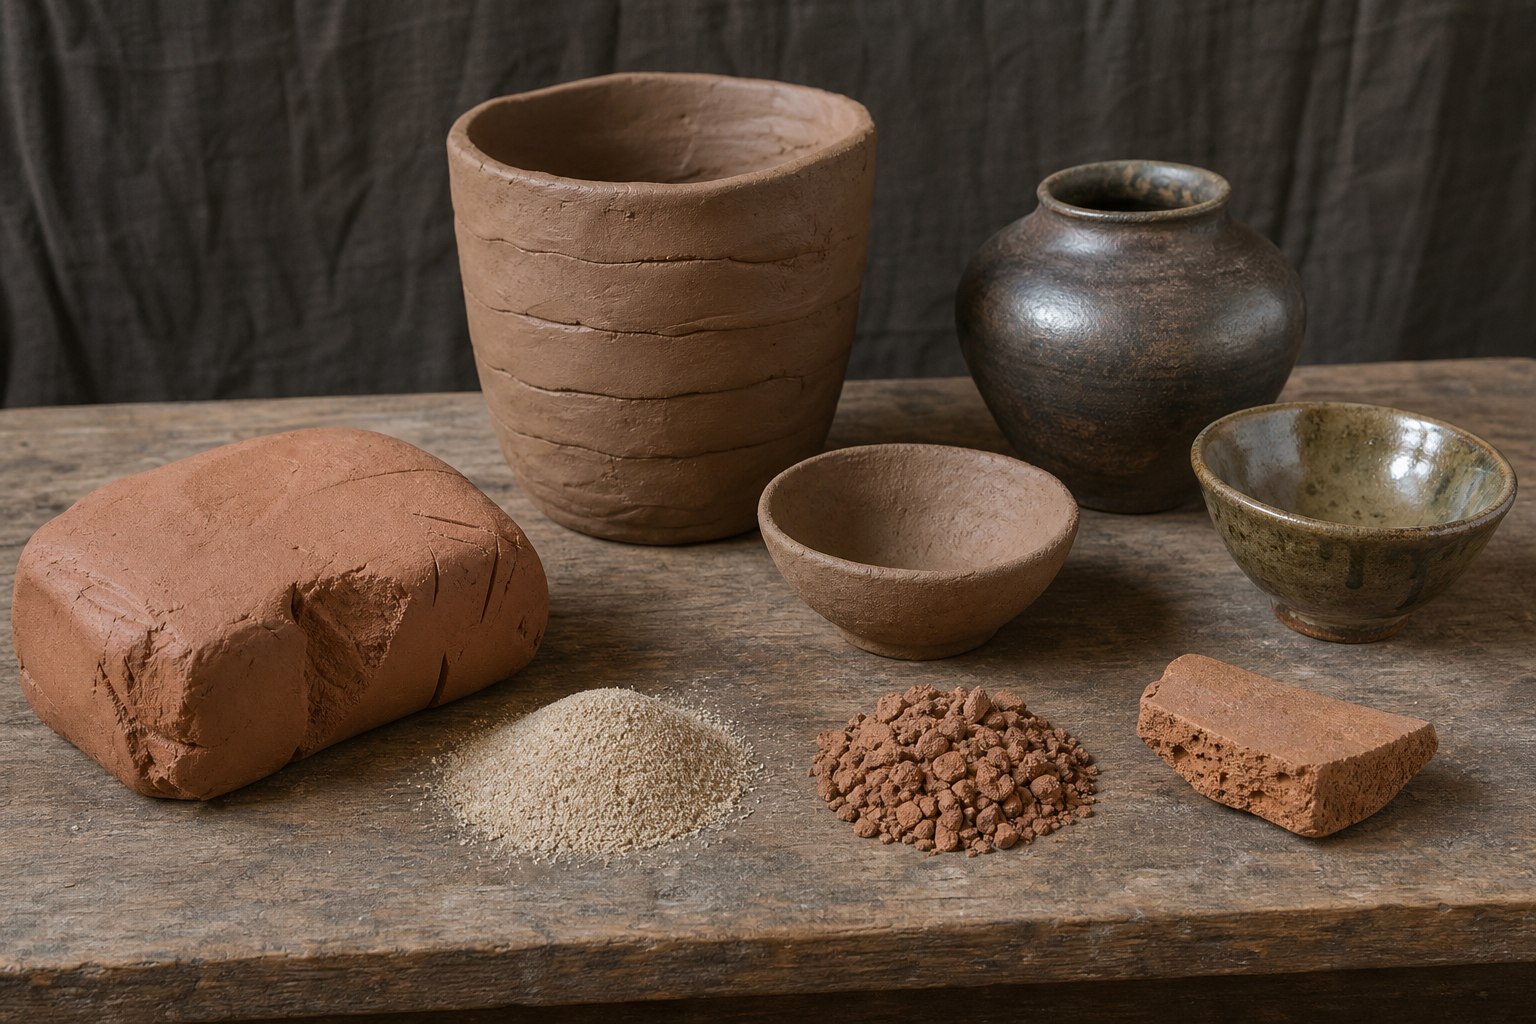
AI-generated visual reference: refined clay and temper → formed unfired ware → bisque, burnished, and glazed ceramics. It is not a historical photograph, material-identification standard, or firing guide.

Interactive figure, Fig 5 · Kiln and damper: drag the firing lever to push more fuel into the fire, slide the air damper, convert the kiln to downdraft and draw test tiles to watch the chamber pass the guide's 600–900, 900–1100 and 1200–1300 °C tiers, the iron fire red or grey, the shell temper in a bowl turn to quicklime above 800 °C and stoneware vitrify. A code-drawn explanatory model built from this guide's numbers, for orientation only; it is not an equipment drawing or a procedure.
Why it matters
Pottery is the enabling technology for almost everything else in this repo. You cannot boil brine for salt, ferment soy sauce, store wine, hold a glass melt, cupel silver, or build a furnace without fired clay. If you arrive somewhere with nothing, make pots first. Everything downstream depends on having containers that survive fire and water.
Ceramics also give you: roof tiles, bricks, drainpipes, crucibles, retorts, lamps, spindle whorls, loom weights, and — with glaze — waterproof storage that doesn't leach into your food.
Finding and preparing clay
Read clay and earth building first. It covers where to dig, the ribbon, shine, jar, and drop tests for judging what you've found, the slake-and-settle levigation loop for refining it, wedging, and aging — all in more detail than repeating it here would allow.
Two points specific to pottery:
- Aging matters more for throwing than for building. Wet clay stored in a covered pit for weeks or months becomes markedly more plastic as bacteria break down organics. Chinese potters aged clay for years and sometimes passed prepared clay to the next generation. Start an aging pit the day you find your clay source; it costs nothing and you will want it later.
- Wedge thoroughly before forming. Knead the clay like bread dough, cutting and slamming it, until it is uniform in moisture and free of air pockets. Air bubbles expand in the kiln and blow the pot apart.
Tempering — the step beginners skip
Pure clay shrinks 10%+ as it dries and again as it fires. Uneven shrinkage cracks pots and destroys furnaces. Temper (adding non-plastic material) fixes this:
| Temper | Add | Best for |
|---|---|---|
| Sand / crushed quartz | 10–30% | General pottery, cheap and everywhere |
| Grog (crushed fired pottery) | 20–40% | Furnaces, crucibles, large vessels — the best choice |
| Crushed shell or limestone | 10–20% | Traditional in many cultures; avoid if firing above ~800°C (it converts to quicklime and blows the pot apart later) |
| Chopped straw / dung | 10–20% | Bricks, low-fired ware; burns out leaving pores, gives thermal shock resistance |
| Volcanic ash / pumice | 10–30% | Excellent, lightweight, refractory |
Grog is the single most useful thing to know here. It has already shrunk as much as it ever will, so it acts as a skeleton. Every broken pot goes into the grog pile — nothing is wasted.
For cooking pots and crucibles you want maximum thermal shock resistance: heavy grog or sand temper, and thin, even walls.
Forming
- Pinch pots — the beginning. Fine for lamps and small bowls.
- Coil building — roll ropes of clay, stack them, weld them together inside and out with your fingers or a rib, then scrape smooth. This makes vessels of any size, needs no equipment, and is how most of the world's pottery was made. Learn this properly — it's the highest-value forming skill.
- Slab building — for square forms, tiles, and boxes.
- Wheel throwing — fast and beautiful but needs a heavy flywheel and months of practice. The tournette (slow turntable) is a useful halfway step and much easier to build. Don't make the wheel your bottleneck.
- Moulds — press clay into a fired clay mould. Excellent for making many identical objects (roof tiles, lamps, crucibles) quickly with unskilled labor.
Drying discipline: dry slowly and evenly, in shade, out of wind, covered with cloth for the first day. Fast drying cracks everything. Thick and thin sections in the same pot dry at different rates and crack at the join — keep walls uniform. The pot must be bone dry before firing; residual water turns to steam and explodes it.
Firing
Tier 1: Pit / bonfire firing (600–900°C)
The oldest method, needs no construction.
- Dig a shallow pit, line the bottom with dry fuel.
- Preheat the pots for hours next to a small fire, turning them. This drives off the last moisture — skipping it is the #1 cause of explosions.
- Arrange pots on the fuel bed, pack more fuel around and over them.
- Light and let it burn. Ramp up gradually — a fierce start cracks pots.
- Once fully burnt down and glowing, cover with ash and earth and let it cool overnight. Slow cooling matters as much as slow heating.
Expect losses. A 20% breakage rate is normal for pit firing even for skilled potters. Results are porous earthenware, usually mottled black and orange.
Tier 2: Updraft kiln (900–1100°C)
A chamber with a firebox below and a chimney above, separated by a perforated clay floor. Fire goes in the bottom, heat rises through the ware, exits the top. This is the standard Roman/medieval design.
Gains over pit firing: much higher temperature, far lower breakage, and — most importantly — control. You can hold a temperature, and you can control the atmosphere.
Tier 3: Downdraft and dragon kilns (1200–1300°C, stoneware)
Heat is drawn up, then pulled down through the ware by a chimney taking its draft from the floor. Far more even and hotter. A dragon kiln (a long chamber built up a hillside, the slope providing the draft) reaches stoneware and even porcelain temperatures and is how Chinese potters got there. If you have a hillside and the labor, this is the target.
Oxidation vs reduction — the atmosphere lever
- Oxidizing (plenty of air): iron in the clay becomes red/orange ferric oxide. Terracotta.
- Reducing (starved of air, smoky): iron becomes black/grey ferrous oxide. Black or grey ware. Greek black-figure pottery, Japanese raku, and Chinese celadon all depend on controlled reduction.
Control it by choking the air intake and adding damp fuel to make the fire hungry.
Making it waterproof
Unglazed earthenware seeps. Options, easiest first:
- Burnishing — rub the leather-hard pot with a smooth pebble before firing. Compacts the surface, gives a soft sheen, and cuts porosity substantially. Free.
- Organic sealing — milk, fat, resin, and wax treatments are historical ways to reduce seepage, but they can crack, spoil, burn, taint contents, or harbor contamination. They do not certify a vessel for drinking water or food.
- Fire it hotter — stoneware (1200°C+) vitrifies and is waterproof with no glaze at all. Requires the right clay and a good kiln.
- Glaze it — see below.
Glazes
A glaze is glass fused onto the pot's surface. Everything from the glass guide applies: you need silica, a flux, and a stabilizer, matched so the glaze melts at your kiln's temperature and shrinks at the same rate as the clay body.
Start with these three, in order of difficulty:
1. Ash glaze (~1200°C, easiest real glaze). Wood ash alone, washed and sieved, painted on as a slurry. Ash is already a mixture of silica, potash, and lime — it's a complete glaze by accident. This was discovered when ash landed on pots in a wood kiln. Typical starting recipe: 40% wood ash, 40% clay, 20% sand, adjusted by test tile.
2. Salt glaze (~1200°C, historical industrial process). Salt introduced to a hot kiln can form the characteristic orange-peel sodium- silicate surface, but it also releases corrosive acid gas and salt aerosol. Do not reproduce this in an ordinary kiln or rely on outdoor/downwind positioning. It requires compatible enclosed equipment, source capture, treated exhaust, exposure monitoring, an exclusion zone, and controlled refractory waste.
3. Lead glaze (~800–900°C, historical high-hazard process). Lead compounds produced bright low-temperature glazes, but making, mixing, firing, finishing, and disposing of them can contaminate the worker, kiln, workshop, soil, and other ware.
Do not formulate or fire lead glaze in a general workshop, and never use it on food or drink vessels. Decorative use still creates lead exposure and hazardous waste; it is not a safe fallback. See silver for the controls that lead work requires. Ash, salt, and other nominally lead-free glazes are not automatically food-safe either: functional ware needs a stable, compatible fired glaze and validated leach, crazing, abrasion, and use testing.
Colorants (add a few percent to a base glaze):
| Additive | Oxidizing | Reducing |
|---|---|---|
| Iron oxide | Amber, brown, black | Celadon green, blue-green |
| Copper oxide | Green, turquoise | Copper red |
| Cobalt ore | Blue | Blue |
| Manganese | Purple-brown | Brown |
| Tin oxide | Opaque white | Opaque white |
Tin-opacified white glaze over red earthenware is what makes maiolica, faience, and delftware — a cheap way to get "porcelain-looking" white ware. Commercially, this is a high-value trick.
Always fire test tiles. Make small clay tags, glaze them with variations, and fire them alongside your real work. Keep records. Glaze chemistry is unforgiving of guessing, and a systematic test-tile habit is the single biggest advantage a modern mind brings to it.
Refractories — the highest-value product
Once you can make ceramics, make firebricks and crucibles and you've unlocked metallurgy and glass. Refractory clay needs high alumina and low iron and lime (which act as fluxes and make it melt when you don't want it to).
- Look for pale, whitish, non-plastic clays — kaolin and fireclay, often found under coal seams.
- Mix roughly 50/50 with grog made from previously fired refractory clay.
- Pre-fire crucibles slowly to full temperature before use.
Failure modes
| Symptom | Cause | Fix |
|---|---|---|
| Pot explodes in the fire | Not bone dry, or heated too fast | Dry thoroughly, preheat, ramp slowly |
| Cracks while drying | Uneven wall thickness, drying too fast | Uniform walls, dry in shade under cloth |
| Cracks at joins | Coils not welded, or clay too dry when joined | Score and slip the joints, work at leather-hard |
| Cooking pot cracks first use | Wrong temper, walls too thick | More grog/sand, thinner even walls |
| Pot crumbles after weeks | Limestone temper turned to quicklime and expanded | Don't use shell/limestone temper above 800°C |
| Glaze crazes (fine cracks) | Glaze shrinks more than the body | More silica in glaze, or fire body hotter |
| Glaze shivers/flakes off | Glaze shrinks less than the body | Less silica, more flux |
| Glaze runs off onto the kiln shelf | Too much flux, or fired too hot | Reduce flux; use a catch dish |
| Glaze is dry and matte when you wanted gloss | Underfired, incompatible recipe/body, or insufficient flux | Rework test tiles and firing schedule; do not add lead as an improvised fix |
Era notes
Fired pottery predates agriculture — the oldest known vessels are ~20,000 years old (Xianrendong, China), and fired clay figurines are older still. You will never introduce pottery to anyone. What you can introduce, in rough order of value: the downdraft kiln, systematic test tiles and record-keeping, grog temper for refractories, plaster or slab drying of clay, and the knowledge that lead glaze poisons the people eating from it.