Sake
Difficulty: moderate to advanced — it depends on authenticated cultures, measured acidity and temperature, and disciplined sanitation. Prerequisites: rice, clean cold water, an authenticated food-grade, non-aflatoxigenic koji starter (see soy sauce), a suitable sake yeast, pH and temperature measurement, and pottery or wooden vats.
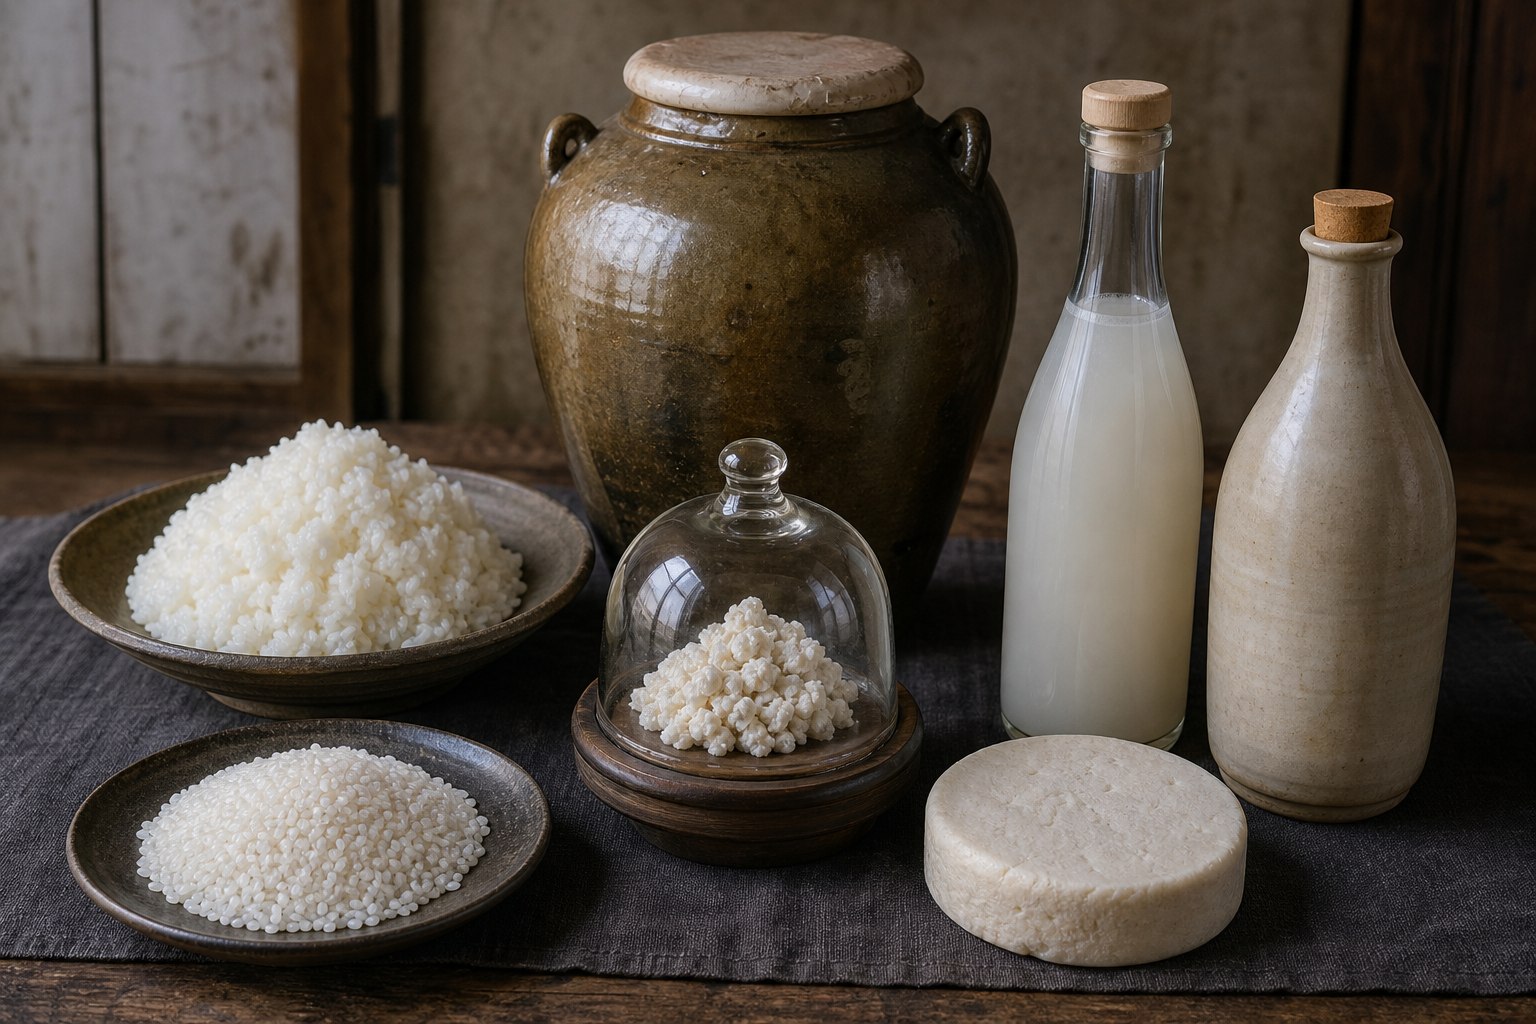
AI-generated visual reference: polished and steamed rice → protected koji-rice sample and closed fermentation vessel → lees and bottled sake. Appearance cannot authenticate a starter, exclude toxins, or establish fermentation safety.
Why it matters
Sake is the clearest demonstration in this repository that biology can do what your technology cannot. Wine is easy because grapes contain sugar and yeast; yeast can't eat starch, so rice needs something to convert it first. Beer solves this with malting. Sake solves it with a mold — and performs much of the starch conversion simultaneously with fermentation. That different process, together with specialized yeast and staged additions, can produce an unusually high alcohol concentration without distillation.
Practically: sake is a high-value trade good, it keeps and ships, and the residual lees are food and seasoning. Related koji technology supports soy sauce, miso, mirin, and rice vinegar, although starter strains are selected for particular products and are not automatically interchangeable. Maintain authenticated master cultures and you have a family of production capabilities.
What's actually happening: multiple parallel fermentation
This is the concept worth understanding, because it explains every step below.
In most beer brewing, you malt and mash first so barley enzymes convert starch, then boil the wort and ferment it. Saccharification and fermentation are largely separate. Ordinary beer strength reflects wort concentration, yeast, nutrients, and process choices; it is not a universal 5–8% biological ceiling.
In sake, both happen in the same tank at the same time:
- Aspergillus oryzae enzymes are steadily breaking rice starch into glucose.
- Yeast is eating that glucose as fast as it appears.
Because sugar is released gradually while yeast consumes it, osmotic stress can be lower than in an equally concentrated one-step wort. With an appropriate yeast and staged feeding, sake can reach about 18–20% alcohol by fermentation alone, placing it among the strongest traditional undistilled beverages. The result is not due to one mechanism alone.
Step 1: The koji culture
Identical to the requirement in soy sauce — read that page's culture section, including its warnings, before starting.
In short: use tane-koji from an established producer or culture collection, documented for sake production and as non-aflatoxigenic. Follow its specified inoculation rate and storage conditions, and retain an authenticated master rather than indefinitely serially propagating working batches.
Do not catch a wild culture. Aflatoxin-producing A. flavus can be indistinguishable from A. oryzae by color, smell, growth pattern, or simple microscopy. A pleasant-looking or previously used batch is not a toxin test. If authenticated starter is unavailable, do not make food-grade koji. See soy sauce for the evidence and full discussion.
Step 2: Rice
Polishing matters more than you'd expect. A rice grain's outside is protein, fat, and minerals; the center is nearly pure starch. Those outer components produce harsh, heavy, off flavors in the finished sake.
Traditional milling — pounding rice in a mortar, or a water-powered stamp mill (see mechanical power) — removes the outer layers. Premium sake polishes away 40–50% or more of each grain, which is extraordinarily wasteful and exactly why premium sake is expensive.
Start with whatever polish you can manage. Even removing the bran layer is a large improvement over brown rice. Note the polishing byproduct is excellent animal feed and can be used for pickling.
Then:
- Wash the polished rice until the water runs clear, removing loose flour.
- Soak — this is timed precisely in traditional practice (sometimes to the minute) to hit a target water uptake around 30%. Weigh a drained sample before and after soaking rather than judging by feel; the required uptake depends on polishing and the validated recipe.
- Steam, don't boil. This is important. Steamed rice is firm outside and cooked inside, which lets the mold grow into the grain properly. Boiled rice is mushy on the surface, the mold grows only on the outside, and the whole batch is compromised. Steam over a cloth-lined basket for about an hour.
- Cool to the appropriate temperature for whichever step it's destined for.
Step 3: Make the koji rice
Take roughly 20% of your total rice for koji; the rest goes in as plain steamed rice.
- Cool steamed rice to about 30–35°C and spread it in a wooden tray in a warm, humid, still room.
- Inoculate at the starter producer's measured rate and mix with sanitized tools or clean gloves to distribute it evenly.
- Cover with cloth and hold at 30–35°C for about 40–48 hours.
- Measure the center temperature and turn and break up the mass before it overheats. The mold generates its own heat and can be damaged around 40°C. Expect to tend it every few hours, including overnight — this is why traditional breweries had people sleeping in the koji room.
- Finished koji is covered in white mycelium, the grains cling together in clumps, and it smells sweetly of chestnuts and mushrooms. Break a grain: the mold should have penetrated toward the center, not just coated the surface. These observations show process development; they do not authenticate an unknown culture.
Use it promptly, or dry it in shade for storage.
Step 4: The yeast starter (shubo / moto)
Do not add an uncharacterized yeast directly to a large tank. Build a dense population from an authenticated sake-brewing yeast under measured acidic conditions.
The problem: the mash is a nutritious, near-neutral substrate for many microbes. The solution is controlled acidity: it suppresses many spoilage organisms while the selected yeast establishes itself. Acidity does not sterilize the starter or mean that “only yeast” can survive.
Controlled default (sokujo-moto):
- Combine koji, steamed rice, and clean cold water in a sanitized small vessel.
- Add brewing-grade lactic acid at the amount specified by a validated sake formula and verify the target with a calibrated pH meter or suitable narrow- range strips. Do not estimate acidity by taste.
- Inoculate with authenticated sake yeast and maintain the formula's temperature schedule while tracking pH, temperature, density, aroma, and time. Discard a starter that does not acidify and ferment as specified.
Traditional kimoto and yamahai instead rely on a complex succession of lactic-acid bacteria before the sake yeast dominates. Cold conditions, spontaneous souring, or a good smell do not guarantee that the intended succession occurred, and different breweries can develop different microbial communities. Treat these as advanced, brewery-specific processes requiring a validated house method, established cultures, and measured pH—not as the safe fallback when brewing-grade acid or yeast is unavailable.
The pole-mashing step (yamaoroshi) defines classic kimoto; yamahai omits it but is not otherwise identical or automatically safer. Do not replace a measured acid addition with an unspecified “splash” of an old sour batch, which can transfer contaminants as readily as desired organisms.
You can maintain yeast as a valuable production culture only with clean isolation, controlled storage, contamination checks, and periodic restart from an authenticated master. Simply saving sediment from the best-tasting batch does not preserve a pure strain.
Step 5: The main mash (moromi) — added in three stages
Do not add everything at once. Excess dilution reduces the starter's acid protection and population advantage and increases the chance of spoilage.
Instead, use the exact ingredient masses in the validated recipe; the classic sequence over four days is:
| Day | Addition | Note |
|---|---|---|
| 1 | Add koji, steamed rice, and water (~2× the starter volume) | hatsuzoe |
| 2 | Rest — add nothing. Let the yeast catch up and repopulate | odori, "the dance" — the mash foams vigorously |
| 3 | Add roughly double again | nakazoe |
| 4 | Add roughly double again | tomezoe |
The rest day is the part people skip and shouldn't. It exists specifically to let the yeast population recover its density before being diluted again.
Then ferment cold and slow: 10–15°C for 18–32 days. This is much colder and much longer than wine or beer. Cold fermentation preserves delicate aromatics and prevents the mash overheating; historically sake was a winter product for exactly this reason. Stir occasionally and watch the foam pattern change through distinct stages as fermentation progresses.
Track specific gravity or another validated fermentation measure rather than foam alone. A successful undiluted mash can finish around 18–20% alcohol, but strain and process matter and not every batch will reach that range.
Step 6: Press, settle, finish
- Press. Put the mash into cloth bags and press, traditionally in a wooden box press. The liquid is sake; the white solid cake left behind is sake kasu (lees) — excellent food, a marinade, a pickling medium, and animal feed. Don't discard it.
- Settle for a week or two, then rack the clear sake off the fine sediment.
- Filter if you want it bright. Traditionally through charcoal, which also lightens color and softens flavor — use sparingly, since it strips aroma too.
- Pasteurize with a validated schedule around 60–65°C, measuring the liquid rather than the bath or vessel wall and ensuring the whole batch reaches the required time–temperature condition. Transfer into clean containers without recontamination. This controls residual yeast and lactic bacteria and inactivates enzymes; merely warming the outside of a bottle is not a process. Low-temperature hi-ire was practiced centuries before Pasteur described microbial heat treatment.
- Age a few months in a cool, dark place. Sake is usually best young; it does not improve indefinitely, and neither does wine.
- If a validated formula calls for dilution to about 15–16%, use microbiologically safe water before the final validated heat-and-fill step. Water added after pasteurization can recontaminate the sake.
Related products from the same setup
- Rice vinegar — let finished sake go to acetic fermentation with air. See basic chemicals.
- Mirin — sweet cooking liquor: koji plus glutinous rice plus distilled spirit, aged. The alcohol stops yeast fermenting the sugars, so it stays sweet.
- Amazake — koji plus rice plus water, held warm with no yeast added. The enzymes convert starch to sugar and produce a sweet, low-alcohol or non-alcoholic drink. Use it to verify a new authenticated starter lot, not to decide whether a captured wild mold is safe.
- Doburoku / makgeolli — the unfiltered, unpressed, cloudy version. Skip the press entirely. Historically the peasant product, and far less work.
- Shochu / soju — distill the mash. See whiskey and spirits.
Water matters more than you'd expect
Sake is ~80% water and Japanese brewing regions are defined by their springs.
- Want: potassium, phosphorus, and magnesium (yeast nutrients).
- Avoid: iron and manganese above trace levels. Iron in particular reacts with compounds from the koji to give brown discoloration and stale off-flavors. This is the classic water fault.
- Rust stains or darkening with tea can flag a possible iron problem, but they are nonspecific and do not establish a safe concentration. Prefer a water source with a documented brewing history and, where possible, use a quantitative dissolved-iron analysis.
Failure modes
| Symptom | Cause | Fix |
|---|---|---|
| Koji grows patchy, only on the surface | Rice boiled instead of steamed, or too wet | Steam it; check the soak time |
| Koji overheats, smells sour or ammoniac | Not turned often enough | Turn every few hours, keep below 40°C |
| Koji grows black, blue, or pink | Contamination | Discard the batch; verify authenticated starter rate, storage, and sanitation |
| Starter does not reach its specified pH or develops abnormal odor/growth | Failed acid control or contamination | Discard; verify acid dose, pH measurement, sanitation, and authenticated yeast |
| Fermentation stalls early | Too cold even for sake, or weak starter | 10–15°C; build a denser starter |
| Mash overheats and tastes coarse | Fermented too warm | Cool the room; ferment in winter |
| Sake is harsh, heavy, and clumsy | Under-polishing, fermentation stress, or other process faults | Review polishing, temperature, starter health, and timing before changing one variable |
| Sake turns brown and tastes stale | Iron in the water | Different water source |
| Sake keeps changing or pressurizing in the bottle | Inadequate pasteurization or recontamination | Do not taste a swollen or leaking container; discard abnormal product and validate the full heat-and-fill process |
| Thin, low-alcohol result | Too much water, or a stalled parallel fermentation | Check koji quality; check the staged additions |
Era notes
Jiahu residues from about 7000 BCE show an early mixed fermented beverage containing rice, honey, and fruit. Koji-based brewing is documented in Japan from the Nara period (8th century), and the staged addition and low-temperature pasteurization methods were both well established by the Edo period — pasteurization roughly three centuries before Pasteur explained why it worked.
Your knowledge advantages: understanding multiple parallel fermentation as a mechanism, using authenticated mold and yeast cultures, controlling acidity and temperature quantitatively, recognizing kimoto and yamahai as distinct microbial processes, measuring iron rather than relying on a folk test, and validating the complete heat-and-fill step.