Soy Sauce
Difficulty: moderate — no hard technology, but it takes months and demands cleanliness. Prerequisites: salt, soybeans, wheat or barley, glazed jars or wooden vats, and an authenticated food-grade, non-aflatoxigenic koji starter.
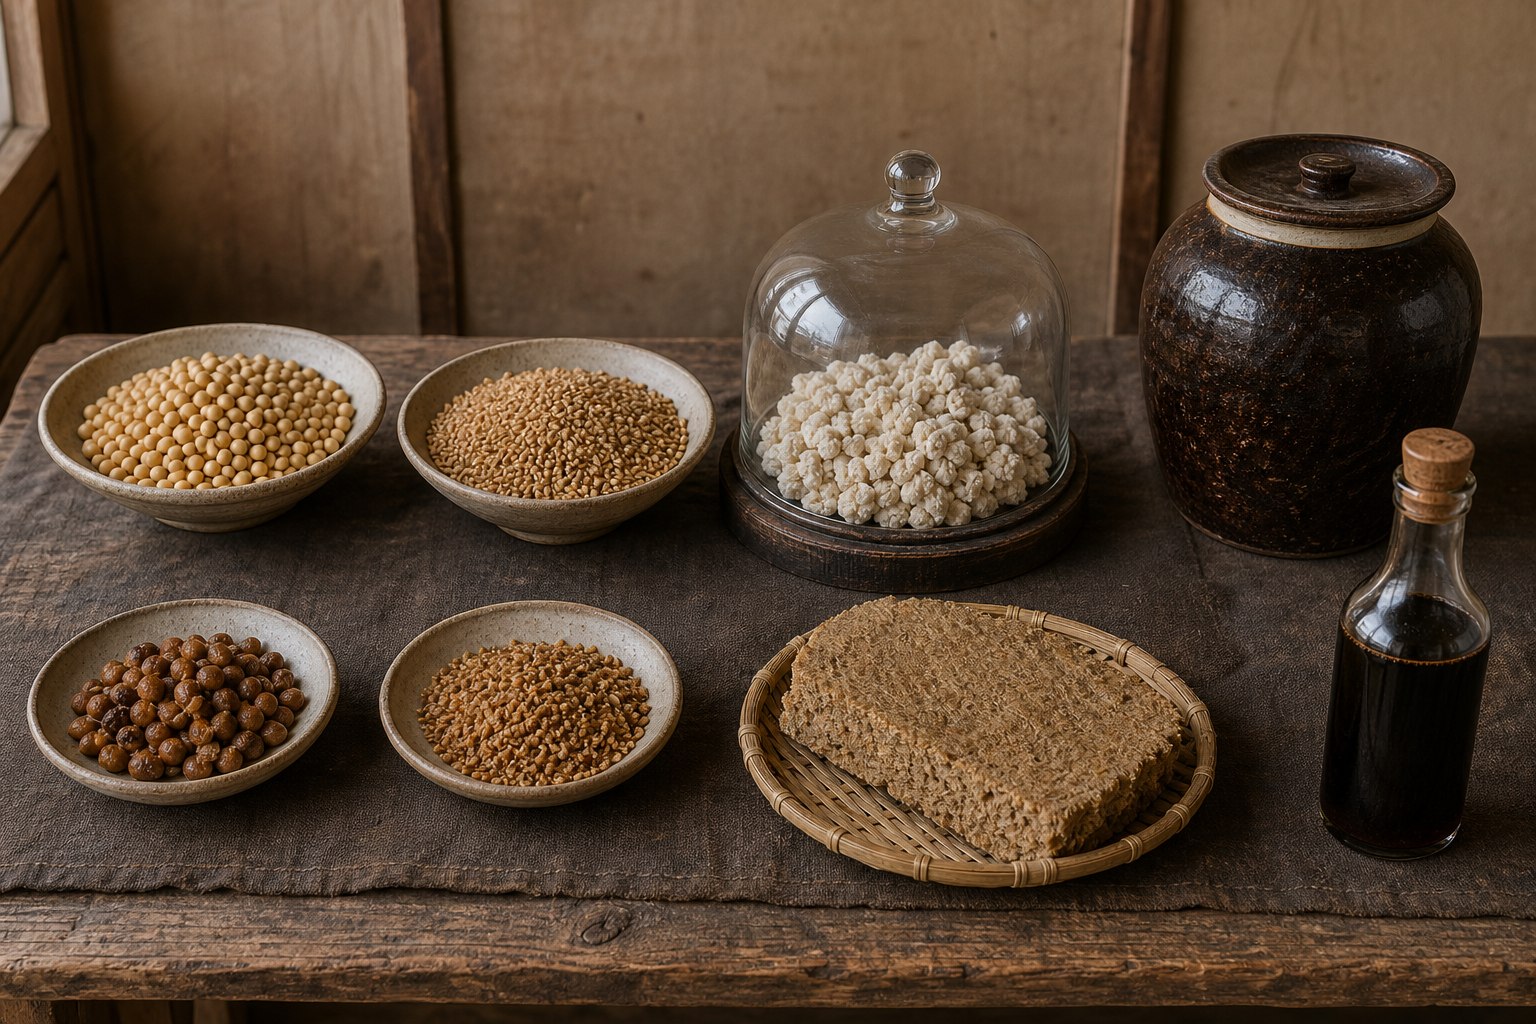
AI-generated visual reference: soybeans and wheat → protected koji sample and closed moromi vessel → press cake and bottled sauce. Appearance cannot identify a safe koji strain, exclude toxins, or validate the fermentation.
Why it matters
Soy sauce is concentrated glutamate — it makes bland food taste like something. In a world of monotonous grain diets, umami is genuinely valuable. It also keeps for years, travels well, and is a preservative in its own right. The same technique (mold + brine + time) gives you miso, fish sauce, and a general understanding of controlled fermentation.
What's actually happening
Three organisms, in order:
- Mold (Aspergillus oryzae) grows on cooked grain and secretes enzymes — proteases that cut proteins into amino acids (glutamate = umami), and amylases that cut starch into sugars. This moldy grain is called koji. The mold does not make the sauce; it makes the enzymes.
- Brine is then added. A traditional high-salt process uses roughly 22–23% salt weight/volume in the prepared brine and controls the resulting moromi near 17–18% weight/volume. High salt stops koji growth and suppresses many other organisms, while the enzymes keep digesting the beans.
- Salt-tolerant yeast and lactic bacteria (Zygosaccharomyces rouxii, Tetragenococcus) survive that salt level and ferment the released sugars into alcohol, acids, and aroma compounds.
Salt is one hurdle, not the whole safety system. A validated high-salt formula, authenticated starter, sanitation, acidification, time, final heat treatment, and clean packaging work together. High salt inhibits many pathogens and spoilage organisms; it does not sterilize the mash or make an unmeasured process safe. Do not improvise a reduced-salt version.
Step 1: Get an Aspergillus oryzae culture
This is the step that cannot safely start from unauthenticated raw material. Obtain tane-koji or another food-grade starter from an established producer or culture collection, documented as the intended A. oryzae production strain and non-aflatoxigenic. Record its source, lot, storage conditions, and inoculation rate. Mixed traditional starters such as qū or nuruk are not automatically interchangeable with a pure soy-sauce koji starter; use them only with a validated process for that particular culture.
Do not catch koji mold from straw, leaves, grain, or the room. Wild Aspergillus includes aflatoxin-producing A. flavus, and toxigenic strains cannot be excluded by color, smell, growth rate, microscopy, or the apparent success of a previous batch. Propagating an unidentified isolate does not domesticate it or make it safe. Maintain a clean working culture from an authenticated master and periodically return to that master rather than serially carrying an indefinite chain of batches. If no authenticated starter is available, do not make food-grade koji.
Step 2: Prepare the substrate
Classic ratio: roughly equal parts soybeans and wheat by weight.
Soybeans: soak overnight, then cook until a bean crushes easily under a clean spoon — several hours of boiling, or an hour steamed under a weighted lid. Undercooked beans won't be digested by the enzymes and you'll get a weak, thin sauce. Drain well.
Wheat: roast until fragrant and browned, then crack it coarsely. Roasting matters — it develops the aroma compounds that separate soy sauce from plain salty bean liquid. (Japanese shoyu uses roasted wheat; Chinese jiàngyóu often uses less or none, giving a darker, more purely bean-forward sauce. Both are correct.)
Step 3: Make the koji
- Mix the cooled beans and cracked wheat, and inoculate at the authenticated starter producer's rate, measured against the substrate mass. Toss with clean tools to distribute it evenly.
- Spread 3–5 cm deep on trays in a warm, humid, still place — around 30°C. A room with a low fire, a warm cellar, a straw-insulated box.
- Over 2–3 days white mycelium spreads and mats the mixture into a cake. It generates its own heat — measure the center with a clean thermometer and break up and turn the mass before it exceeds the starter's specified range (about 38°C is a useful upper warning point). This turning, every 12 hours or so, is the main labor.
- Stop at the time and development specified for the starter. Expected color and aroma are useful process observations but do not authenticate the mold or prove toxin safety. Discard any batch with unexpected growth or odor.
Step 4: Brine and ferment (moromi)
- Use a validated high-salt shoyu formula. A common traditional starting brine is 22–23% weight/volume (w/v): dissolve 220–230 g of salt, then add water to a final solution volume of 1 litre. That is not 220–230 g per litre of water, and it is not “percent by weight of water.” Cool it completely.
- Combine koji and brine only in a formula that states the ratio's basis explicitly—mass or volume—and its target for the expressed moromi liquid. Brine concentration alone does not determine final salinity because koji carries water and solids. Weigh and record wet koji, water, and salt; a traditional high-salt target is around 17–18% salt w/v in the moromi liquid. Verify it by chloride titration rather than inferring it from scoops; a brine hydrometer is useful before koji is added but becomes nonspecific once sugars and proteins enter solution. Do not dilute later. Use a glazed ceramic jar, wooden vat, or another food-safe non-reactive vessel. Never use copper, iron, or lead — the salty acidic mash can leach metal.
- Cover with cloth (needs some air exchange, but keep insects out).
- Stir daily for the first week, then weekly. Stirring introduces oxygen early and prevents surface mold. Keep the solids pushed under the liquid.
- Ferment 6 months minimum; 12–18 months is much better. Traditional producers ferment outdoors so the mash cycles through summer heat and winter cold — that seasonal cycling drives different organisms at different stages and is a real part of the flavor.
Record salt, pH, temperature, and aroma on a fixed schedule and compare them with the validated formula's expected trajectory. A pH reading is a process check, not a substitute for the salt, starter, and heat controls.
A thin white film can be salt-tolerant surface yeast, but appearance alone does not identify it. Remove it with clean tools, recheck salt and acidity, and correct exposed solids. Discard a batch with fuzzy or colored mold rather than skimming and salvaging it.
Step 5: Press and finish
- Scoop the mash into cloth bags and press — a lever press, a screw press, or a stack of stones on a board. The liquid that runs out is raw soy sauce. The pressed cake is very salty and is not automatically safe animal feed; use it only after species-specific nutrition review and dilution limits.
- Let the liquid settle; oil rises and sediment sinks. Draw off the middle.
- Pasteurize: use a validated time–temperature schedule around 75–80°C and verify that the entire liquid reaches its target. This stops fermentation, clarifies it (proteins coagulate and settle), and contributes cooked aroma. “Briefly” heating only the pot wall is not a controlled process.
- Settle again, decant into clean containers, and close without recontaminating it. High salt and pasteurization give long storage, not immortality: keep it cool and dark, refrigerate after opening when possible, and discard gas, fuzzy growth, leakage, or an abnormal odor.
Variations worth knowing
- Tamari: the liquid from miso production, made with little or no wheat. Thicker, darker, wheat-free.
- Miso: same koji, but mixed with cooked beans and less brine and fermented as a paste rather than pressed. Easier than soy sauce — start here if you're learning.
- Fish sauce: no koji mold is required, but this is a separate fermentation needing food-safe fish, a validated salt formula, controlled drainage or venting, and its own discard criteria. Do not infer its safety from the shoyu process.
- No soybeans available? Some legumes can support related sauces, but each needs validated soaking, cooking, and fermentation; lupins and other species can retain hazardous antinutrients or alkaloids. Do not substitute by protein content alone.
Failure modes
| Symptom | Cause | Fix |
|---|---|---|
| Koji grows black/blue/pink mold | Contamination, too cool or too wet | Discard batch; more starter, better temp control |
| Koji cake overheats and smells sour/ammoniac | Not turned; bacteria took over | Turn every 12h, keep below 38°C |
| Weak, thin, pale sauce | Beans undercooked, or fermented too briefly | Cook beans until crushable; give it a year |
| Mash goes putrid | Unvalidated salt level, failed acidification, or contamination | Discard; do not rescue by adding salt after spoilage |
| Fuzzy or colored surface mold | Contamination, exposed solids, or failed salt control | Discard; correct submersion and measured salt before the next batch |
| Sauce keeps fizzing in the bottle | Incomplete process or recontamination | Do not taste a swollen or pressurized container; discard abnormal product and validate pasteurization and packaging |
| Harsh, purely salty, no depth | No wheat / no roasting / young | Roast the wheat; wait longer |
Era notes
Fermented bean pastes (jiang) are documented in China by the Zhou dynasty (~1000 BCE) and liquid soy sauce by the Han. Beans, salt, vessels, and long fermentation were available early; the hard-won biological asset was a maintained starter culture. The modern advantage is recognizing that historical success does not make visual wild-mold selection safe, and adding measured salt, temperature, acidity, and heat treatment to culture stewardship.